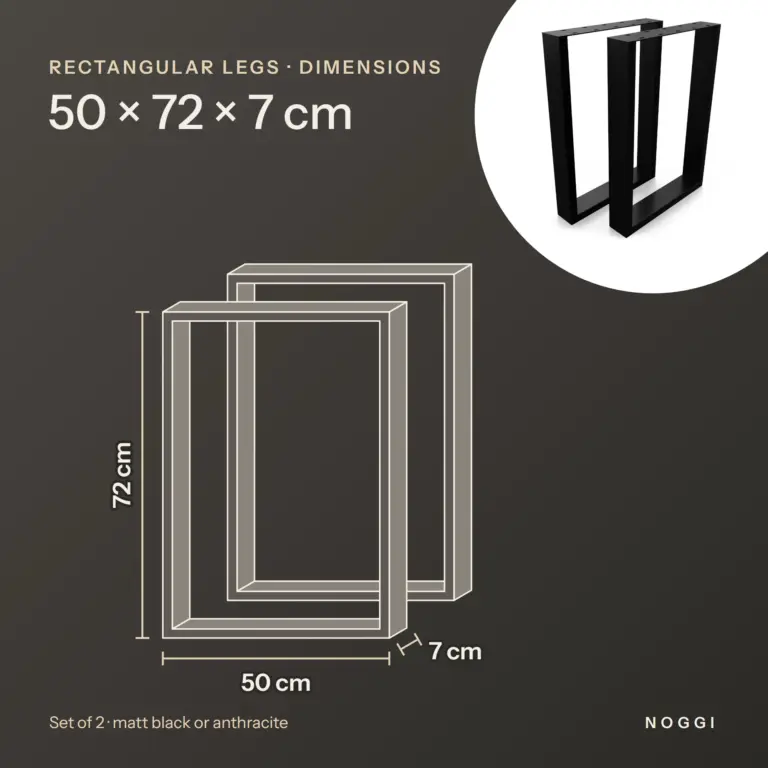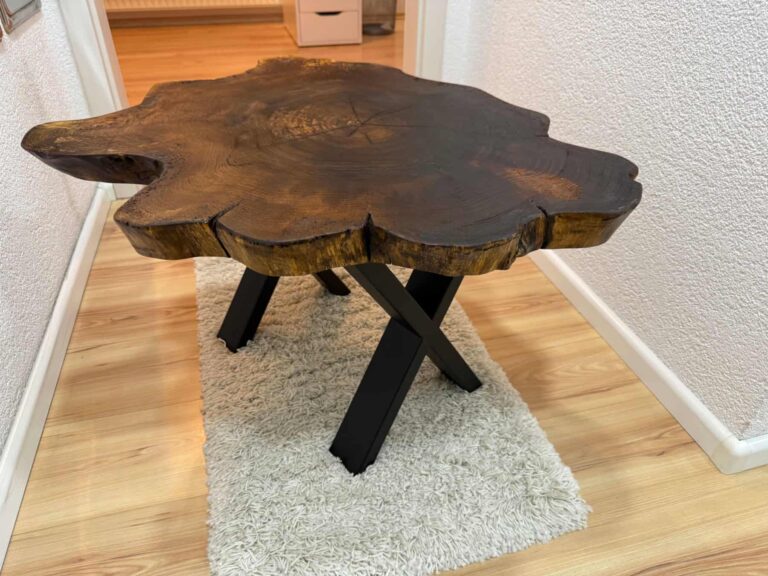
 AI-enhanced
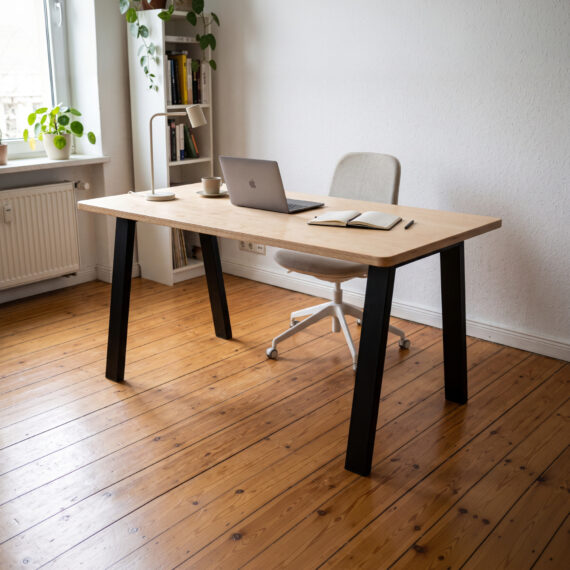 AI-enhanced
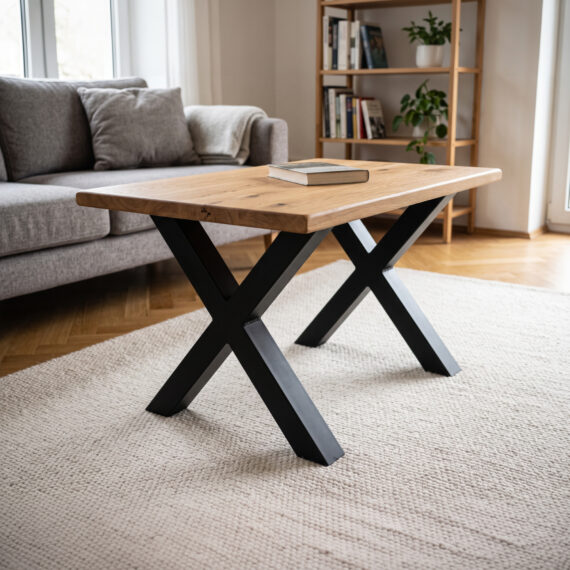 AI-enhanced
 AI-enhanced
 AI-enhanced
Assembly
Mounting table legs: step by step

Assembly only takes a few minutes: the frames are simply screwed to the underside of the tabletop. Here you’ll find what you need and the three steps in detail.
What you need
- Cordless screwdriver or screwdriver
- Depending on the wood, a drill for pre-drilling
- Screws to suit the thickness of your tabletop (how to find the right screw)
- Pencil and tape measure for aligning
What’s in the set
A set contains two frames, so everything for one table or bench, plus floor protectors. Screws are not included because their length depends on the thickness of your tabletop.
Step 1: Align
Turn the tabletop over so the underside faces up. Place the frames across the long side and centre them. Centred means: the distance to the edge is the same on both sides. Mark the position.
Step 2: Pre-drill
Depending on the wood, pre-drilling may be necessary. With hard wood it keeps the screws straighter and stops the wood from splitting.
Step 3: Screw on
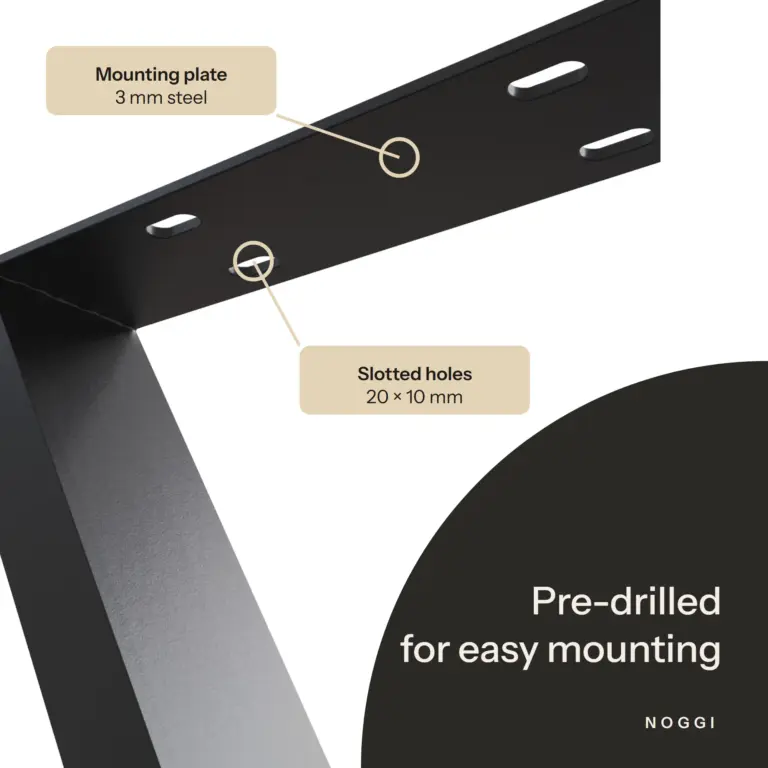
Screw the frames to the tabletop through the slots in the mounting plate. The slots measure 20 × 10 mm.
Solid wood works: it expands and contracts depending on humidity. In the slots the screw can move with it, and the tabletop doesn’t crack. So place the screw so that there is still room to move in the slot.
Special case: glass tabletop
Glass tabletops can be mounted too. With glass, tighten the screws carefully and place plastic or rubber washers underneath so that no tension builds up.
Done
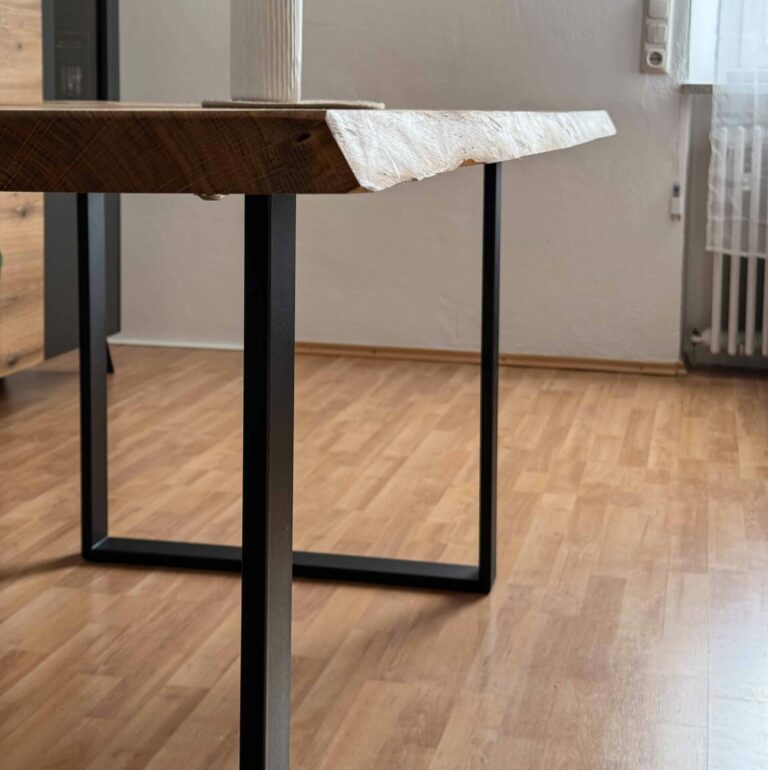
Turn the table over and stand it up. The floor protectors from the set protect parquet, laminate and tiles from scratches. The frames are powder-coated and suitable for indoor and outdoor use.